Today the voting for week 1 of
So You Think You Can Sew kicks off! The voting window is only open until Thursday at 8:00 pm, so
if you have a minute, would you head over there and vote?
Now, before I give you the monogram pillow tutorial, can I tell you a secret? The "B" is for Burke's reading chair (not Piper Jane's).That's probably obvious. But since I made Piper's and Burke's pillows together (and since they both have the aqua linen that matches the chair in them), the "B" earned itself a spot in the pictures. Plus, it's very 'sew-ish' and I figured it couldn't hurt to add it to my "for the home" entry for So You Think You Can Sew.
With that off my chest, are you ready to make one of these monogram throw pillows???
Make a paper letter template (I held my paper up to my computer screen and traced it- how's that for ghetto stencil making?). Using a fabric pen, trace onto two kinds of fabric (they're going to be facing opposite ways, so trace them that way). Cut out.
Cut a 2.5" thick strip of coordinating fabric as well (I started by cutting the length of the fabric, but ended up needing more). Also cut a loooooong thin strip of fabric (to cover your piping) from one of the fabric selections. It only has to be about an inch thick (tuck your piping in the middle to see how big yours needs to be).
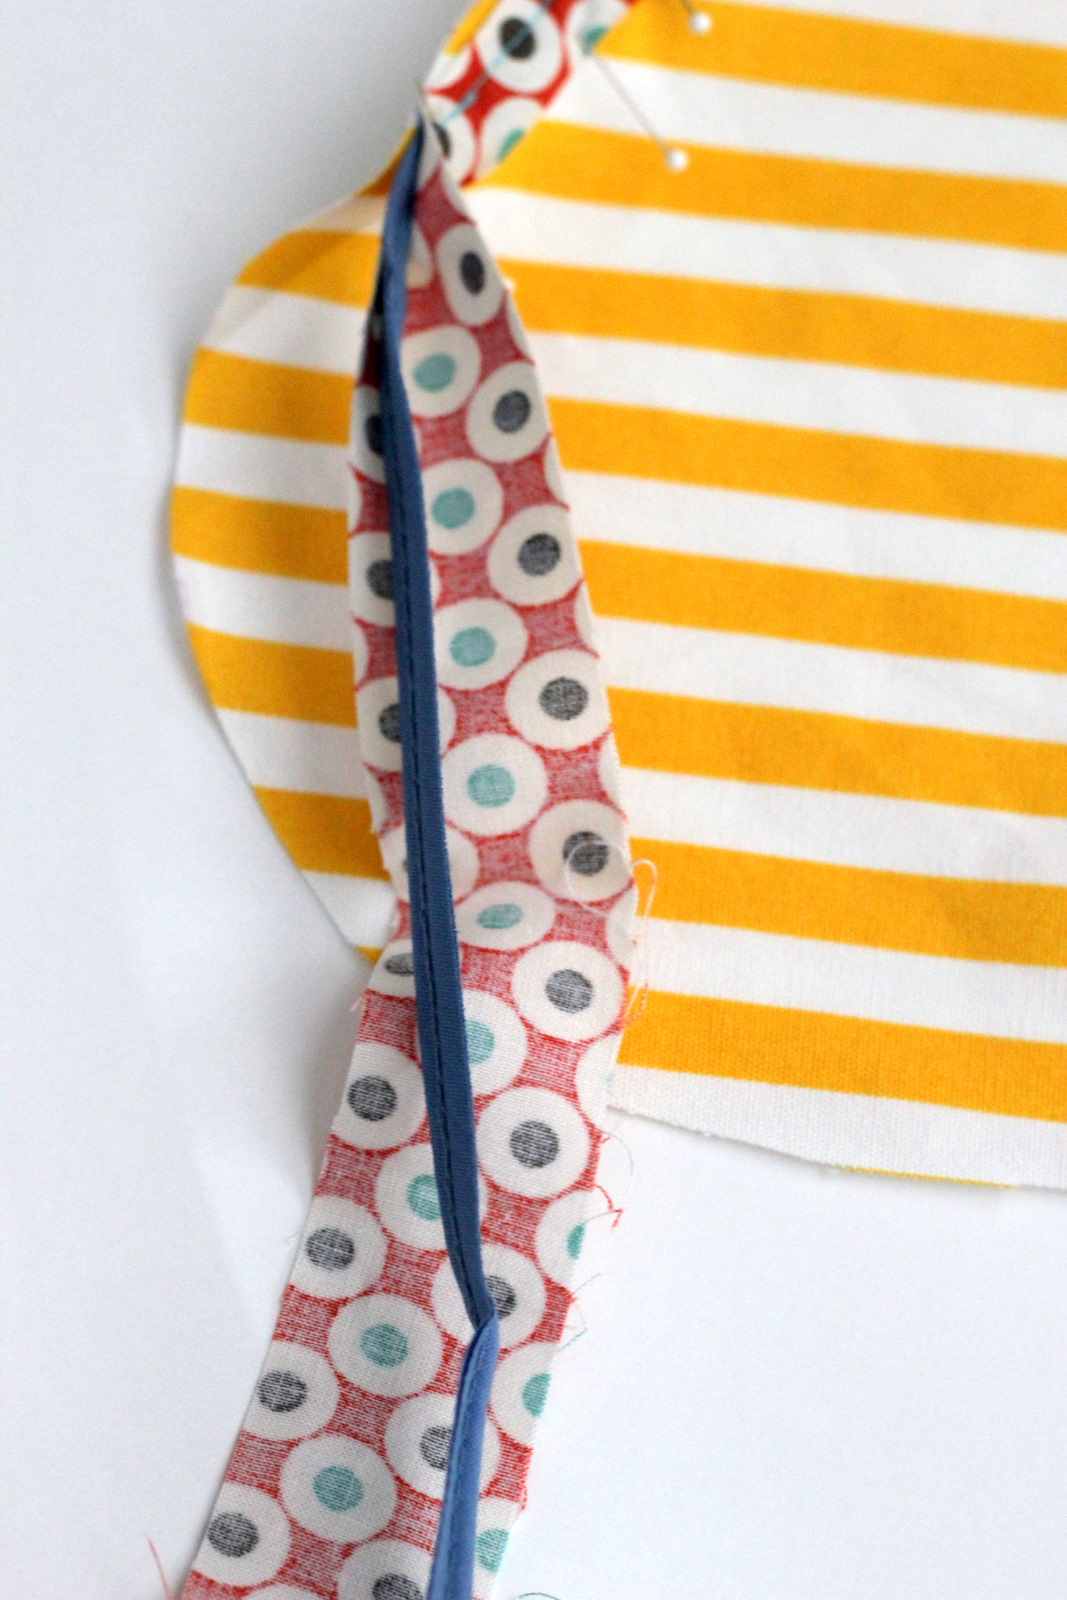
Start making custom piping by covering a length of piping with your thin strip of fabric. Tuck it into the middle so that the sides of your fabric meet at the bottom edge of the piping.
Pin the piping on to the front of one of your monograms. Add lots of pins around curved edges and pin twice at the corners- one pin vertically and one horizontally (you'll sew it in place the same way).
Sew in place. To make the edge where they meet look finished, tuck the edge at the end over to make it looked finished and wrap it around the beginning (it'll cover the unfinished edges and look fairly seamless).
Sew the 2.5" contrasting fabric to the other monogram similarly (pin in place, right sides facing each other, and then sew in place). At every edge or corner, start a new length of fabric. Then, sew the fabric rectangle together at their intersections so that the rectangle forms one continuous edge around the entire monogram.
Repeat with the other side. To make sure that you cover over your stitching for the piping, sew along the inside edge of that line of stitching. On one side, leave a 4" opening.
Turn right side in by pulling through your opening. Stuff with polyfil. Sew the opening shut.
Done! Add to a chair or a bed or a reading nook (or your little sister's new chair- haha!) for a little monogram goodness.
Thanks y'all! :)
*The chair how-to and Land of Nod knock off tutorial are in the works! Thanks for all of the encouraging emails and comments!


The chair and pillow are fabulous! Already voted for you -- best of luck!
ReplyDeleteI want that chair! With some coral pillows or embroidery would make it perfect for my house!!! So in love!
ReplyDeletevoted:) your at 11% so folks if you have not voted.... :D
ReplyDeletehow cute! you pick the best fabrics!
ReplyDeletexx
No, unfortunately I don't think I can sew, buuuttt, I loved this post. Great photos!
ReplyDelete